


Interested in knowing the steps of our Hydrofin Super Fly installation? Here are the major steps summarized in an easy to read and digestible format. If you’re handy and don’t mind working on your hands and knees under the boat, you’ll be able handle this no problem. The installation isn’t difficult but does require attention to detail so make sure to take your time and double check your measurements.
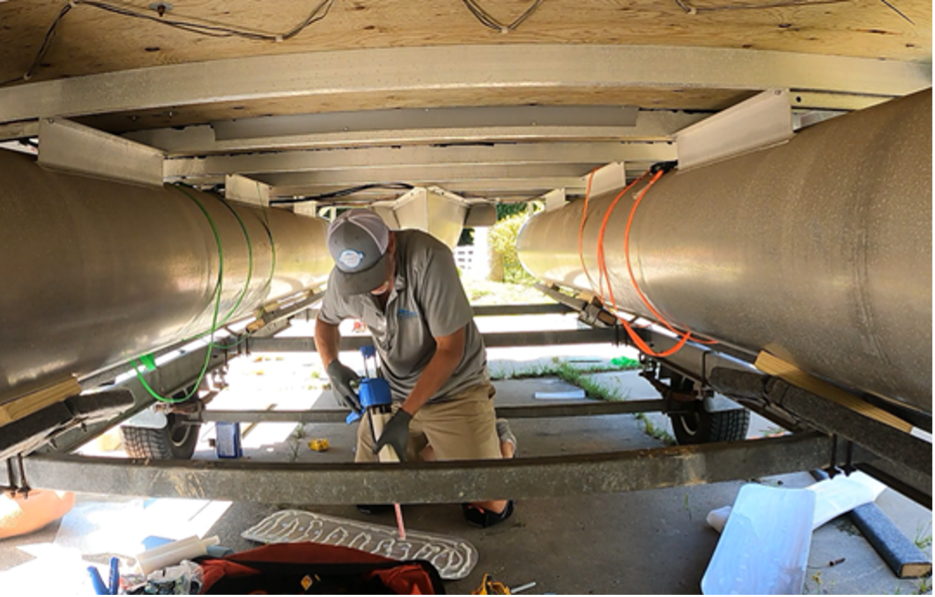
Getting started: Although it can be done, we don’t recommend attempting this alone. Doing so will triple the time and frustration so grab a friend to help hold parts or tools and take measurements on the boat. After you’ve read the installation instructions and have a good understanding of each step, the working time is typically 7-8 hours.
Hydrofin Super Fly Installation Step 1: Measure and Mark the locations of the mounting plates
Center of Gravity
You DO NOT need to lift and balance your boat. Hydrofin will provide the center of gravity and all measurements needed for your boat. Using the info provided, measure and mark the center of gravity from the weldline at the back of the boat measured forward.
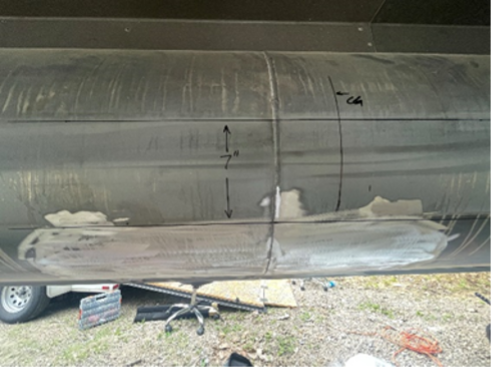
Finding Main Plate depth
Using a carpenters square, find the center line of your boat. The top of the large curved plate should be 7” below the center line of the boat. Install tip that will help double check you’re work: If your boat has a keel, the bottom of the main curved plate should be roughly 1-2” off the keel.
Finding Rear Plate depth
The rear plate should be mounted as far back on the boat as possible and 7” below the center line.

Hydrofin Super Fly Installation Step 2: Prep the Hull
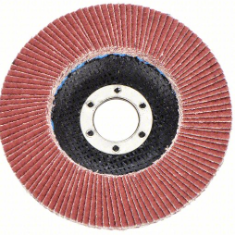
- A 36 or 40 grit flap disc sander works best. Your goal in this step is to remove dirt, oxidation, and scuff up the hull which will give the structural adhesive a proper bond.
- After grinding the hull, use acetone or 91 isopropyl alcohol to clean BOTH the curved plate and hull of the boat.
Hydrofin Super Fly Installation Step 3: Glue the mounting plates to the boat
- Use ratchet straps to hold the mounting plates in place while the structural adhesive cures.
- Make sure all indicator marks are made and the straps are in place before you begin to dispense the glue on the plate.
- Work on one mounting plate at a time. Apply glue to the plate and then secure plate to boat with ratchet straps.
Hydrofin Super Fly Installation Step 4: Mounting the foils
- After the structural adhesive has cured at least one hour, remove the ratchet straps.
- Using the stainless steel hardware provided, mount all four hydrofoils to each of the four mounting plates that are glued on the boat.
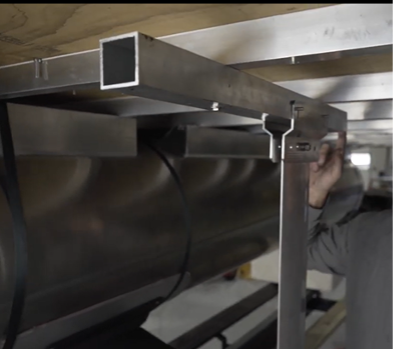
- Mount the square tube to the deck of the boat and then attach the strut.

If you are interested in learning more or seeing each step in detail, you can download our install manual on our installation page.